
Everything You Need to Know to Kickstart Your Hatchling Adventure.
What To Know Before Incubating
How to Collecting and Storing Eggs for Incubation:
Collecting and storing eggs for incubation is a crucial step in the process. Here’s how to do it:
Tips When Collecting Eggs
- Use clean, fresh eggs from healthy hens. Dirty or damaged eggs may not hatch successfully and may contaminate the incubator.
- Collect eggs daily to ensure they are as fresh as possible.
- Grocery store eggs are not fertile. You can order fertile eggs from a hatchery or a poultry farm. The eggs should come from a National Poultry Improvement Plan (NPIP)-certified flock to reduce the risk of disease.
Storage Conditions
- Store the collected eggs in a cool and dry place, at a temperature between 55-60°F (12.7-15°C). Do not put them in the refrigerator!
- Avoid extreme temperature fluctuations and humidity changes during storage.
- Do not wash the eggs before storing. Washing removes the protective bloom, which helps prevent bacteria from entering the egg.
- Keep the eggs in a clean container or egg carton with the pointy end down. This helps maintain the air cell’s orientation.
Rotating and Marking
- To maintain egg freshness, rotating your stored eggs until placing in the incubator. Move the eggs from the bottom of the carton to the top in a new position each day. This helps prevent the embryo from sticking to the shell membrane.
- You can also mark the date on each egg with a pencil for better tracking.
- A helpful tracking tip is to mark an X on one side of the shell and an O on the other end. This is a visual reminder to rotate the eggs accordingly.
Timing
- Eggs should be used for incubation within 7-10 days of being laid for the best hatch rates. Freshness is essential. Planning a head will help avoid storage problems.
- Shipped eggs need 24 hours to settle and reach room temperature. Putting a cold egg into a warm incubator can cause the egg to crack. It could also causes diseases from moisture condensation on the egg shell. Allow cool eggs to warm slowly to room temperature before placing in the incubator.
Step-By-Step Guide
21 Day Step-By-Step Guide For Incubating Chicken Eggs
Incubating chicken eggs requires careful temperature and humidity control. Standard and Bantam chicken hatching eggs follow the same guidelines and timeframe. If you are looking to hatch eggs of other species the timing for incubation will be different. You should not incubate eggs from different species together.
1. Get a reliable incubator
The incubator helps control temperature, humidity and egg turning. Some incubators will automatically rotate the eggs for you. Opening the incubator to turn the eggs by hand will cause the temperature and humidity to drop. Egg turning is critical for development. It keeps the chicks from sticking to the inside surface of the shells. Turning the eggs more often creates a higher success rate for hatching. Turn at least 3 times a day, 5 times a day would be better.
There are two types of incubators available, forced-air and still-air incubators. Forced-air incubators have fans that provide internal air circulation. The capacity of these units may be very large. The still-air incubators are usually small without fans for air circulation.
2. Set up the incubator
- Follow the manufacturer’s instructions to set the temperature and humidity to the recommended levels for chicken eggs.
- The temperature should be around 99.5°F (37.5°C) – 100.5°F (38°C).
- Your incubator should be set up and turned on before placing the eggs inside.
- Setup the incubator in an area to maintain a steady temperature. Keep out of direct sunlight and away from drafts.
- The incubator will need to stay in this spot for 21 days. Make sure to keep it out of reach from children and pets.
3. Egg selection
Wash your hands before handle eggs. This helps prevent bacteria from getting into the porous eggshells. Use fresh, clean eggs from healthy hens. Avoid washing them, as this can remove the protective bloom.
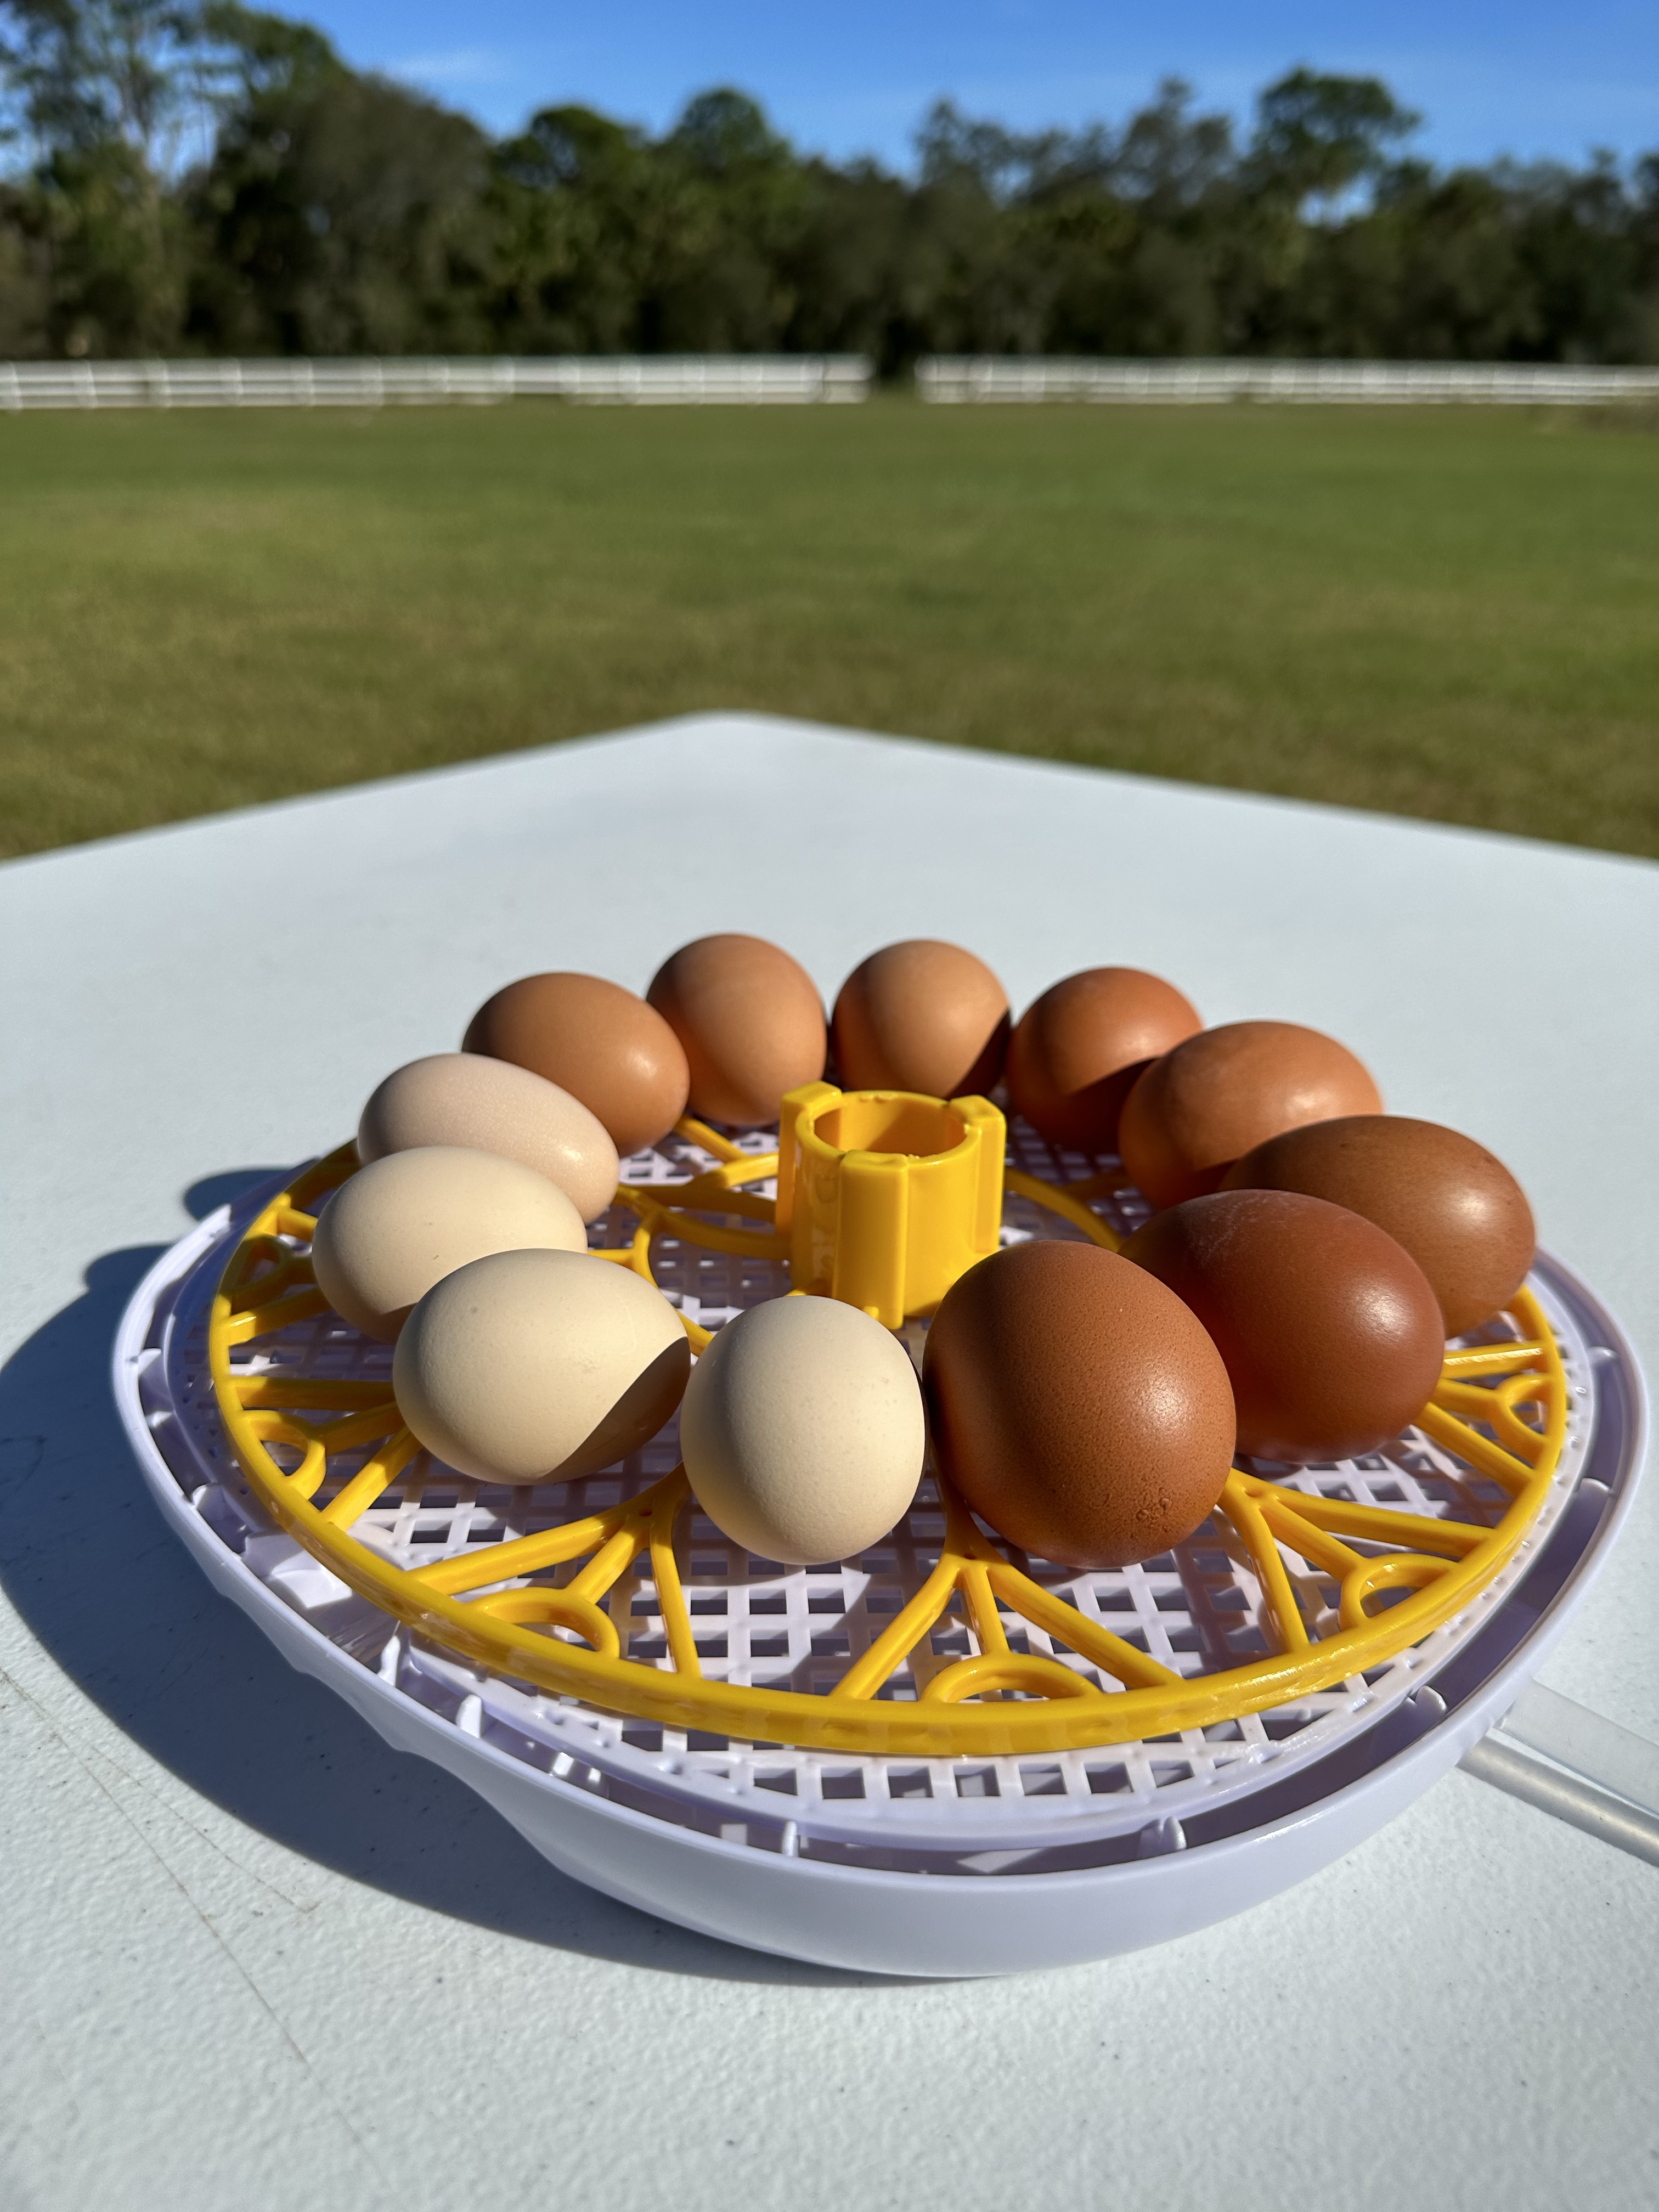
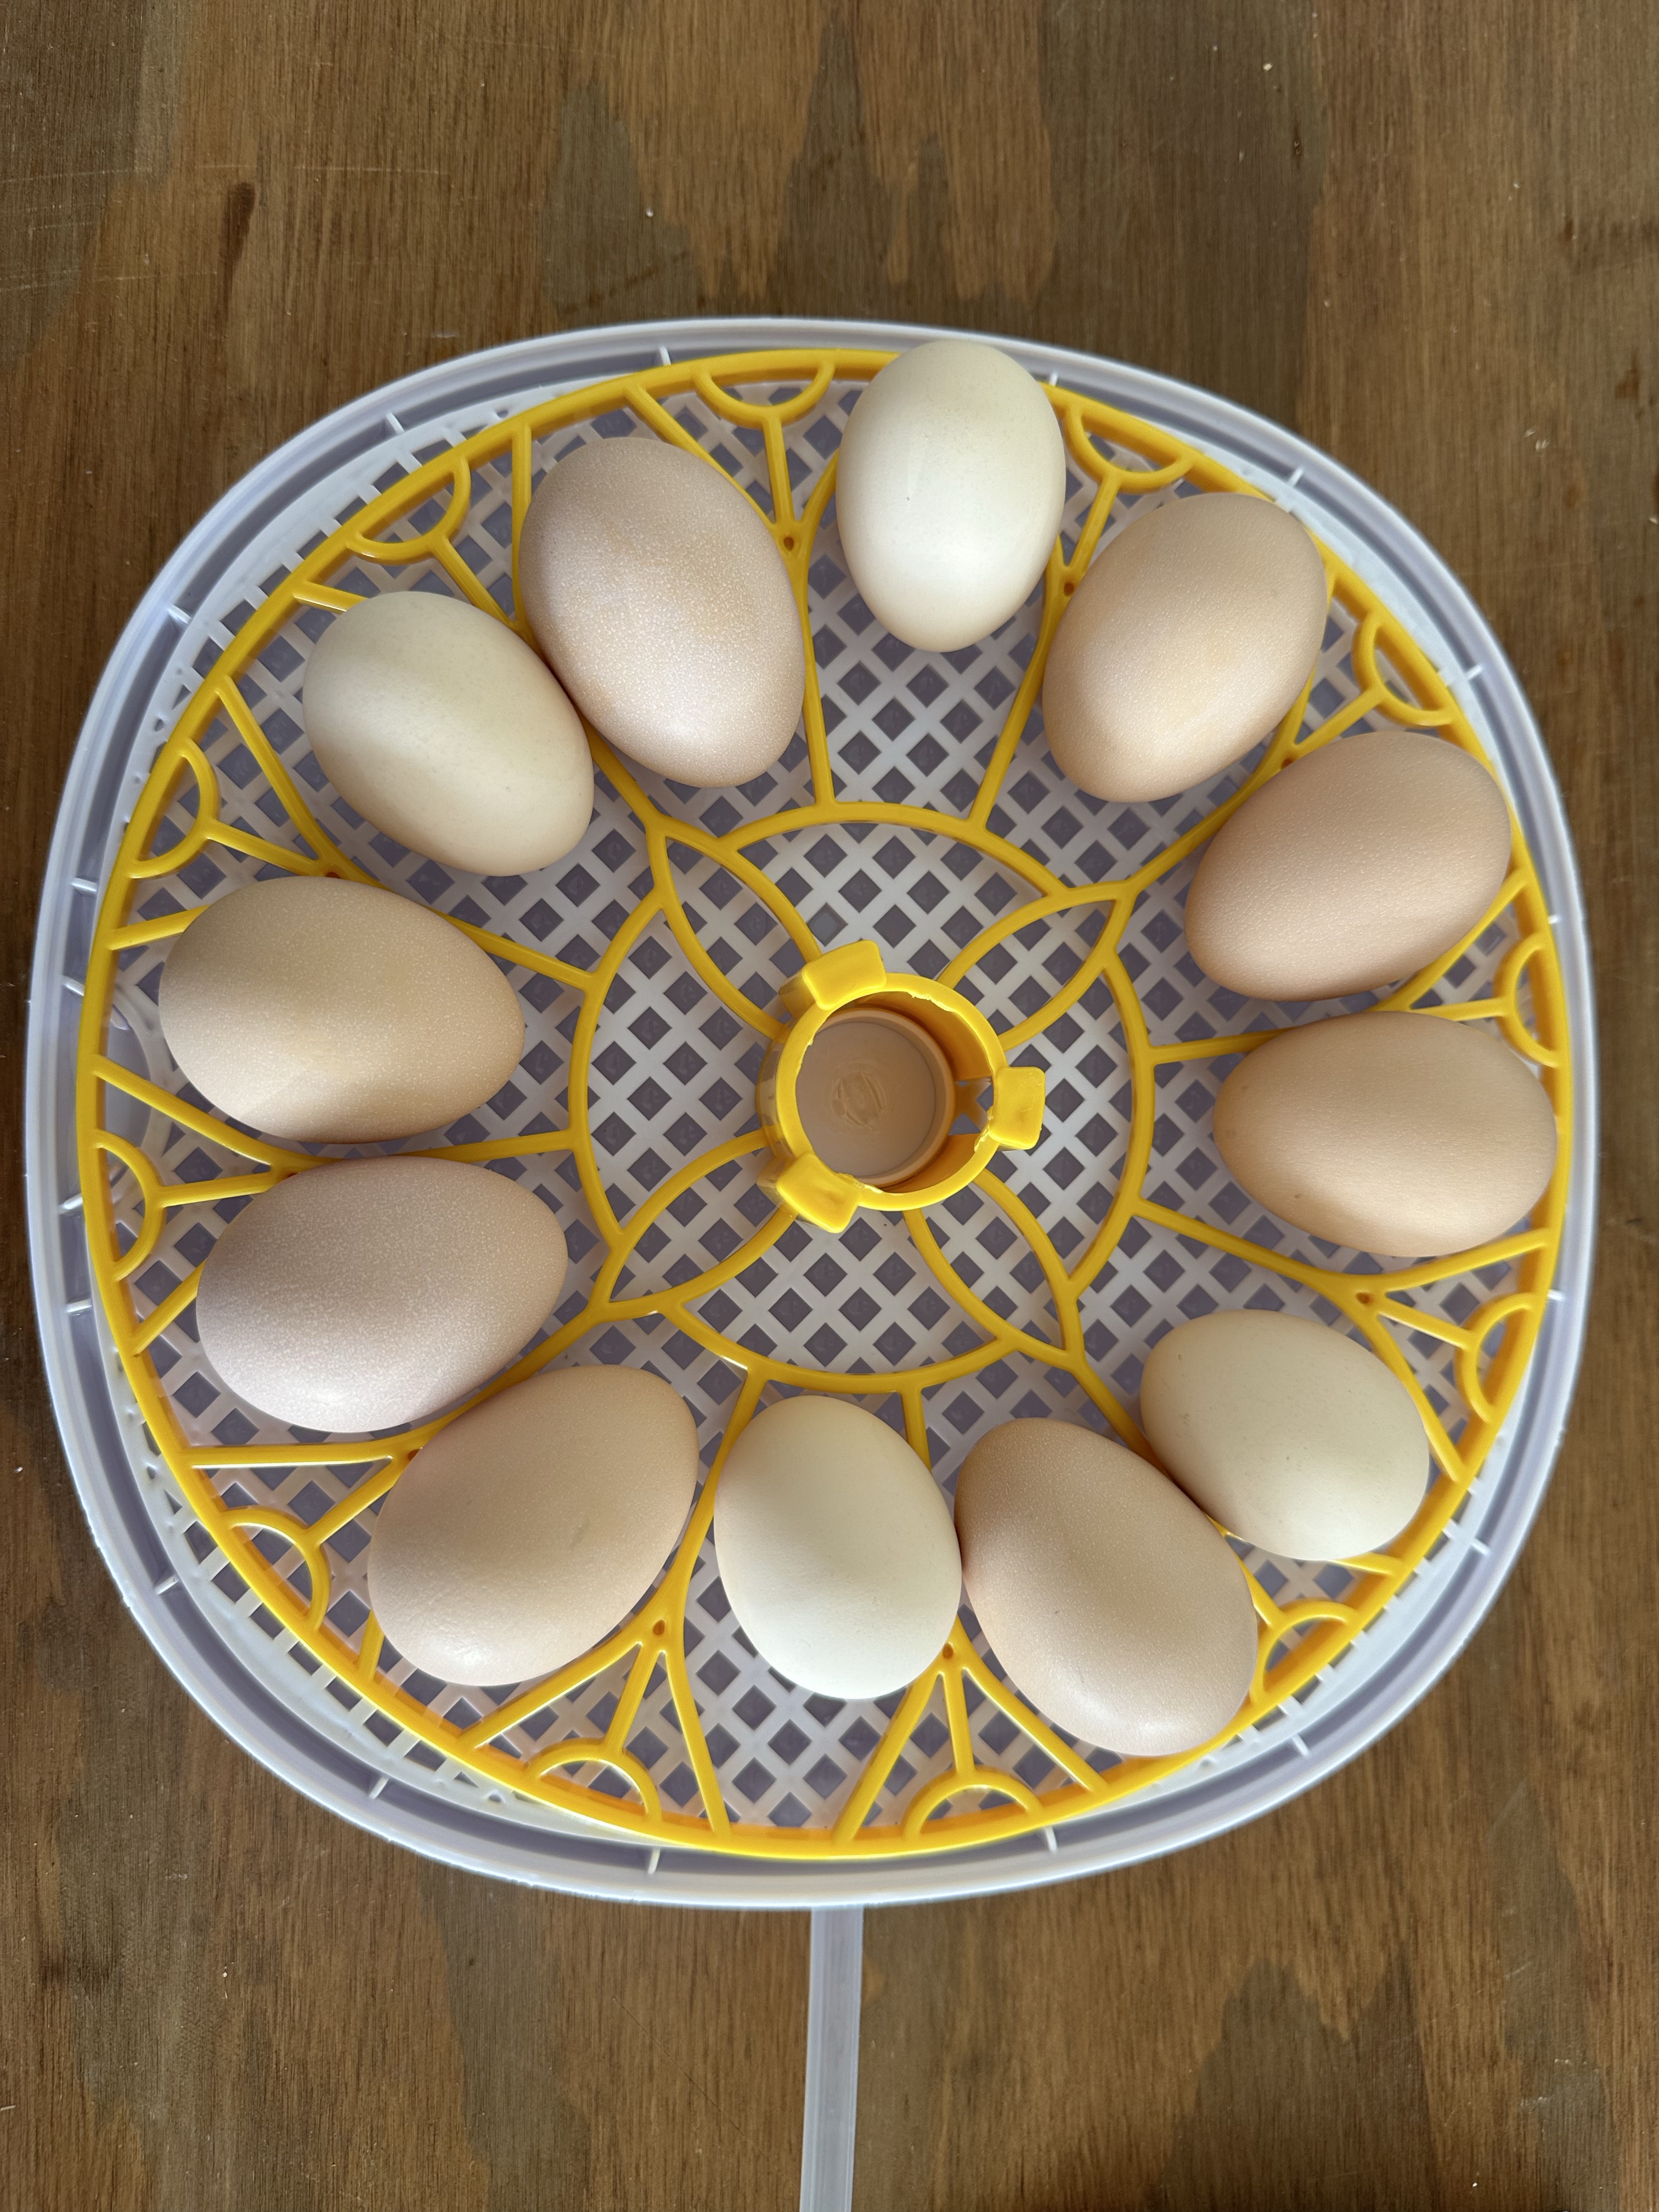
Plan to set at least six eggs at one time. Setting fewer eggs often results in one or no hatchlings, especially if you have shipped eggs. The number of chicks that hatch together is important for newborn chicks. Chickens are flock animals and need companions to be happy.
4. Egg placement
Place the eggs in the incubator with the large end up. Use an automatic egg turner or manually turn the eggs at least 3 times a day until day 18. Place the eggs in the egg tray with the larger end facing up and the narrow end facing down.
5. Monitor temperature and humidity
Keep a close eye on the incubator’s temperature and humidity levels. Make necessary adjustments as needed to maintain a stable environment. Keep water reservoir full to maintain the humidity. Be mindful when opening the incubator. Every time it’s reopened it looses heat and humidity which can affect hatching.
Do not let the temperature drop below 99°F (37.2°C). Also, Do not let temperature of 102°F (38.8°C) last more than a few hours. The humidity should be around 45-55% for the first 18 days, then increase to 65-75% for the final days. It is okay for humidity to vary. During winter humidity may be difficult to maintain. Like wise, in the summer it may be difficult to lower. Increasing water surface area adds humidity. Increasing fresh air to the incubator decreases humidity.
A forced-air incubator that is too warm tends to produce early hatches. One that runs consistently cooler tends to produce late hatches.
6. Candling
Useing a flashlight look for signs of fertility and embryo development. The lighter colored eggshells are easier to see through. Light Egg Candlers help visualize the embryo development. The eggs should only be out of the incubator no more than 5-10 minutes. Only candle a few at a time.
Around Day 7 you should see a small dark spot with a few blood vessels radiating from it. If you can see blood vessels within the egg, there is a live embryo inside. Blood vessels in chicken eggs are visible within 7 to 10 days of an egg’s incubation.
The egg is infertile or the embryo died early on when the inside of the egg is clear and free from any structure. The embryo died a little later if there is a red ring inside the egg. Remove these eggs from the incubator.
Around day 14 it should be more difficult to see through the egg because the embryo is much bigger. Yet, you can still see through the air sac. Remove and discard eggs that are not developing. This avoids an exploding rotten egg inside the incubator. That could ruin the rest of the hatch.
By day 18 of incubation the egg is almost completely dark when candling. This is because of the growing embryo. It is possible to see some movement inside the egg!
7. Stop turning: Lockdown
On day 18, stop turning the eggs and remove automatic turning tray from the incubator. Increase relative humidity to 65-75%. Place the eggs with the larger end facing up. The chicks are about fully developed and will move into a hatching position. Do not open the incubator until all chicks have hatched and dried off. Arrange their brooder a few days before they hatch to ensure you have everything they’ll need.
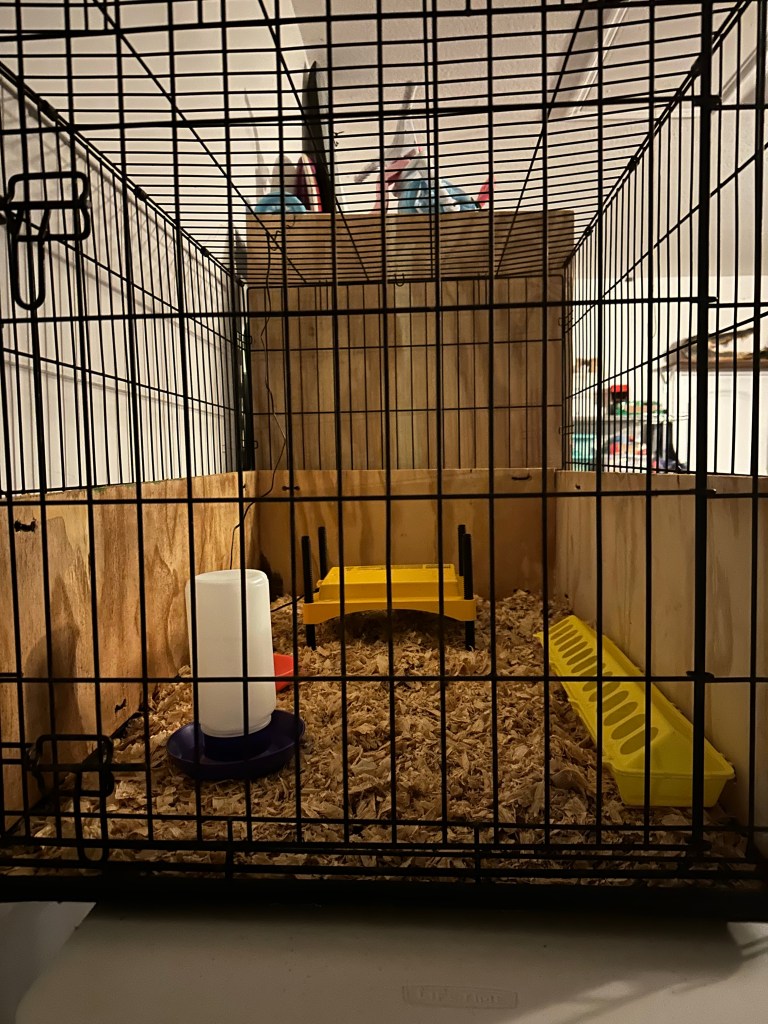
Brooder Ready
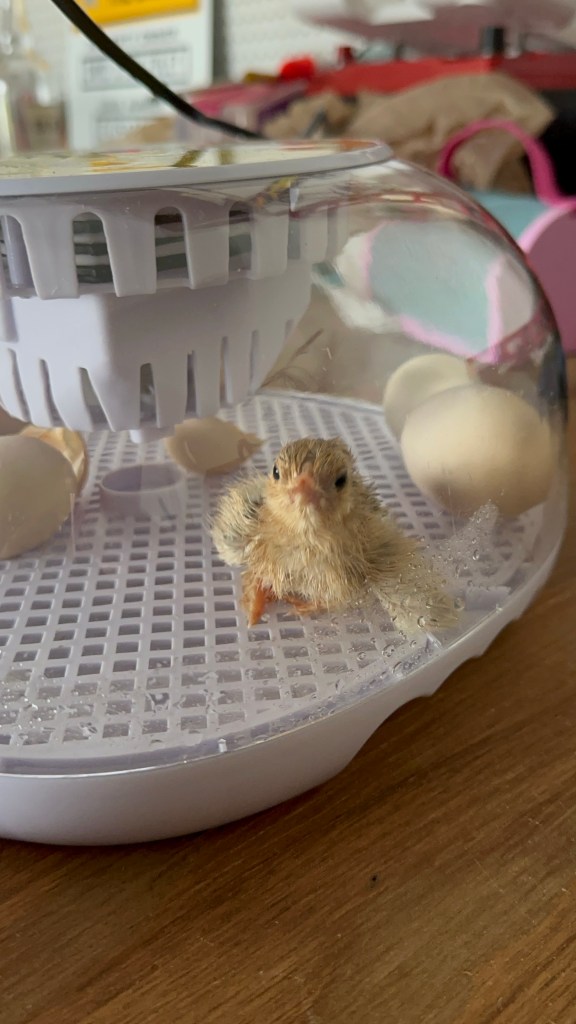
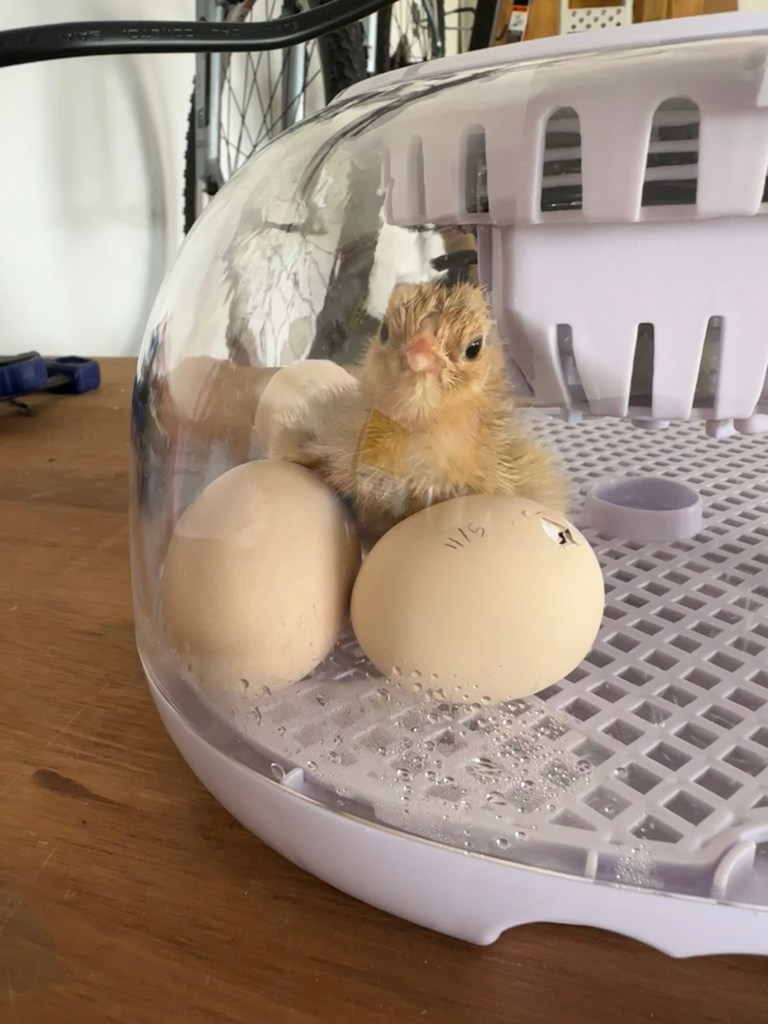
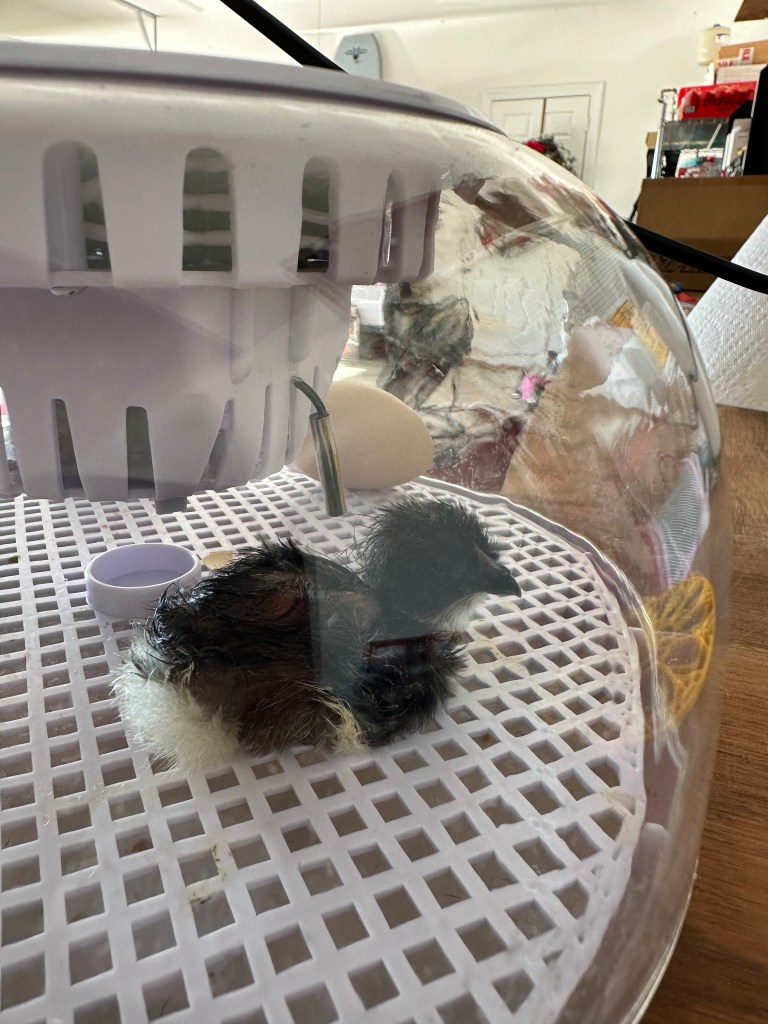
8. Hatching
Chicken eggs hatch around day 21. You may hear peeping from inside the egg as it rocks around a little. Hatching is a lot of work for these babies. It could take 24 hours for all to hatch, 5-7 hours is more common. The first chicks are okay to wait 24 hours without food and water while the remaining chicks hatch. The unhatched eggs will be encourage by the sounds of the other chicks. Lower the temperature to 95°F (35°C) once all chicks have hatched. All chicks should be dry and fuzzy before taking them out of the incubator.
Allow the chicks to hatch naturally, avoiding interference as much as possible. The shell could still be attach to the chick by blood vessels that have not dried up yet. Removing the shell by hand could cause a lot of bleeding for the hatchling.
Wait until day 23 if the eggs haven’t hatched yet. If the eggs had cool down before incubating they might need more time. Before getting rid of any unhatched eggs, candle them to see if they are still alive.
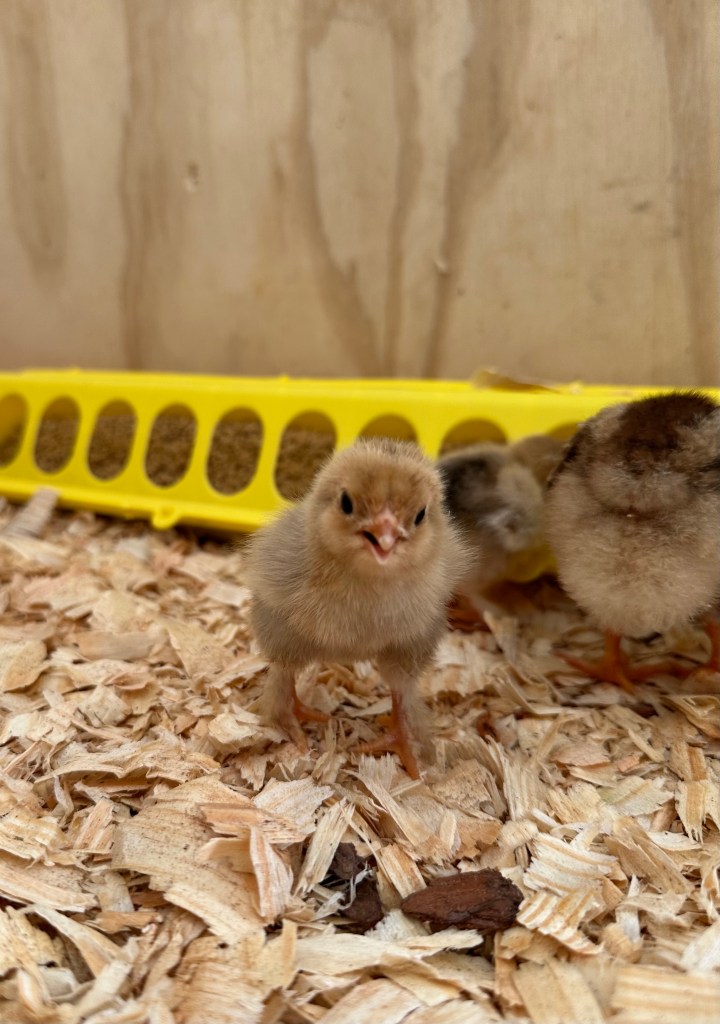
9. Caring for chicks
Once the chicks hatch, transfer them to a brooder with a heat lamp or pad, chick feed, and water. Set temperature to 90°F (32.2°C) – 95°F (35°C). Provide proper care to help them thrive.
There is a 50/50 chance that a chick will be hen or rooster. From inside the egg there is not a way to know if a male or female chick is developing.
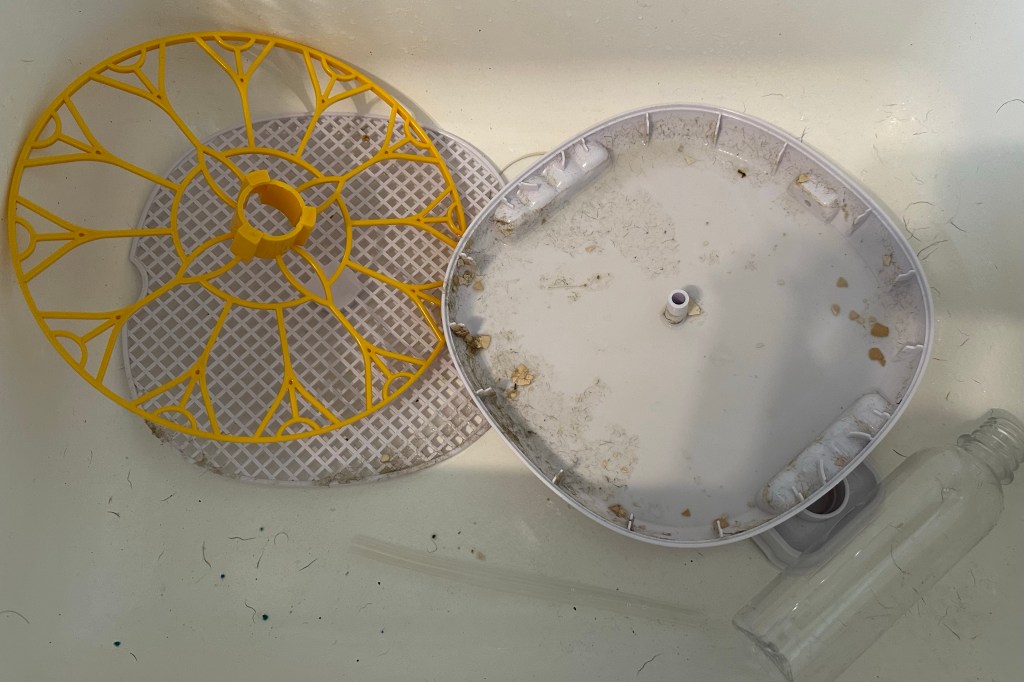
10. Clean Up
After all chicks have hatched from the incubator, it’s time to give it a thorough cleaning. Grab a 1:10 bleach/water solution and get ready to sanitize all the parts. By doing this, you’ll be creating an environment that’s safe for those little chicks.
To achieve successful incubation, pay close attention to details and maintain a sterile environment. Follow the instructions that come with your incubator for optimal results.
Enjoy your new flock you have raising from birth!
Citing
Marie.”Guide to Incubating and Hatching Chicken Eggs.”MeyerHatchery.com, 1 November 2023, https://meyerhatchery.zendesk.com/hc/en-us/articles/360009850992-Guide-to-Incubating-and-Hatching-Chicken-Eggs
Purina Animal Nutrition.”Hatching Eggs at Home: A 21-Day Guide for Baby Chicks.” PurinaMills.com, https://www.purinamills.com/chicken-feed/education/detail/hatching-eggs-at-home-a-21-day-guide-for-baby-chicks
Dr. Tom W. Smith.”Care and incubation of hatching eggs.”thepoultrysite.com, 27 May 2004, https://www.thepoultrysite.com/articles/care-and-incubation-of-hatching-eggs#:~:text=Ideal%20storage%20conditions%20include%20a,incubating%20within%204%2D6%20days.


Leave a comment